This guide walks you through your first proxy connection. Start with one proxy and one tool, verify that they work together, then increase usage or adjust session settings for your task.
How the connection works
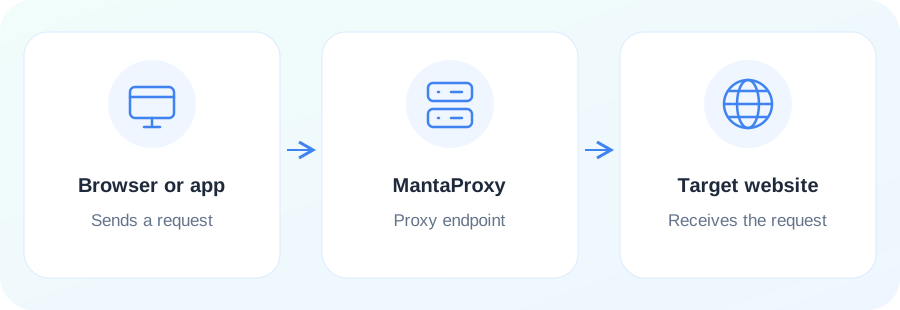
Before starting, have a MantaProxy account, an available proxy resource or residential traffic package, and a browser, client or application that supports proxy configuration.
1. Create an account and sign in
Open registration or sign-in from the website and follow the on-screen instructions. Use the dashboard to purchase products, review resources and obtain connection details.
2. Select a product and plan
Identify the target region and whether your task needs a fixed IP over time. Choose a product according to usage, duration and budget, review the order and complete the purchase.
Static proxies
Choose these for a consistent exit IP. Select the region, IP quantity and duration, then check the allocated resources and expiration dates.
Rotating residential proxies
Choose these for rotating exits or tasks across regions. After buying traffic, configure the region, rotation or sticky sessions using the options the product supports.
3. Get your connection details
Find the purchased product in the resource list or connection configuration area. Check the endpoint, port, protocol and authentication method. Field names may differ between products; follow the current dashboard.
Static proxies
The endpoint is usually the IP or address provided in the dashboard. Use its matching port and authentication details. Your website sign-in password is not your proxy password.
Rotating proxies
The endpoint is usually a proxy gateway. The actual exit IP depends on region and session settings; the gateway address is not the exit IP. Copy generated authentication details in full, including any parameters.
4. Enter the parameters in your tool
Open the proxy settings in your browser, client or application and copy each dashboard value into its matching field. Use the correct port for the selected protocol, save the settings and confirm that the tool has enabled the proxy.
Configuration field reference (example)
| Field in your tool | Example value | What to enter |
|---|---|---|
| Protocol | HTTP | Choose a supported protocol, such as HTTP or SOCKS5. |
| Server / host | proxy.example.com | The full IP address or hostname supplied in your dashboard. |
| Port | 12345 | The port matching the selected protocol. |
| Username | YOUR_PROXY_USERNAME | Your proxy username, including any region or session parameters. |
| Password | YOUR_PROXY_PASSWORD | Your proxy authentication password, not your website sign-in password. |
The address, port and credentials above are placeholders and cannot be used to connect. Copy real values from your dashboard. If your product uses a different authentication method, follow its instructions.
Some tools provide separate host, port, username and password fields; others accept a complete proxy string. Follow your tool’s required format. Do not paste the whole string into a host-only field.
5. Test before starting your task
Open an IP lookup service using the configured tool and check the exit IP and region. Then open the actual target website and verify the pages your task needs. A reachable proxy endpoint alone does not confirm access to the target service.
- Check the configured tool: Inspect the exit IP in the same browser or application that uses the proxy, rather than a different tool without proxy settings.
- Understand rotation and fixed exits: A new exit IP after rotation is expected. Use a supported sticky session when continuity is needed; a sticky session does not provide a permanently fixed IP.
- Test network and target access separately: If the IP check works but the target website does not, review that service’s access requirements and your task configuration.
If the connection fails
- Authentication failure: Check proxy credentials, accidental spaces and the selected authentication method.
- Connection timeout: Check the endpoint, port and protocol, then whether your local network, client and firewall allow the connection.
- Unexpected exit region: Check region parameters and confirm that you are inspecting the actual exit IP rather than the gateway.
- A previously working connection fails: Check static resource expiration, remaining traffic and any changes to connection details.
Ongoing management and next steps
Monitor expiration dates and renewals for static proxies, and remaining traffic and usage records for rotating proxies. After changing the region, protocol or credentials, update your tool and test again.
See the setup tutorials for specific tools, or API integration for programmatic access. When contacting support, include the product type, tool, time and error message. Hide passwords and access tokens in screenshots.